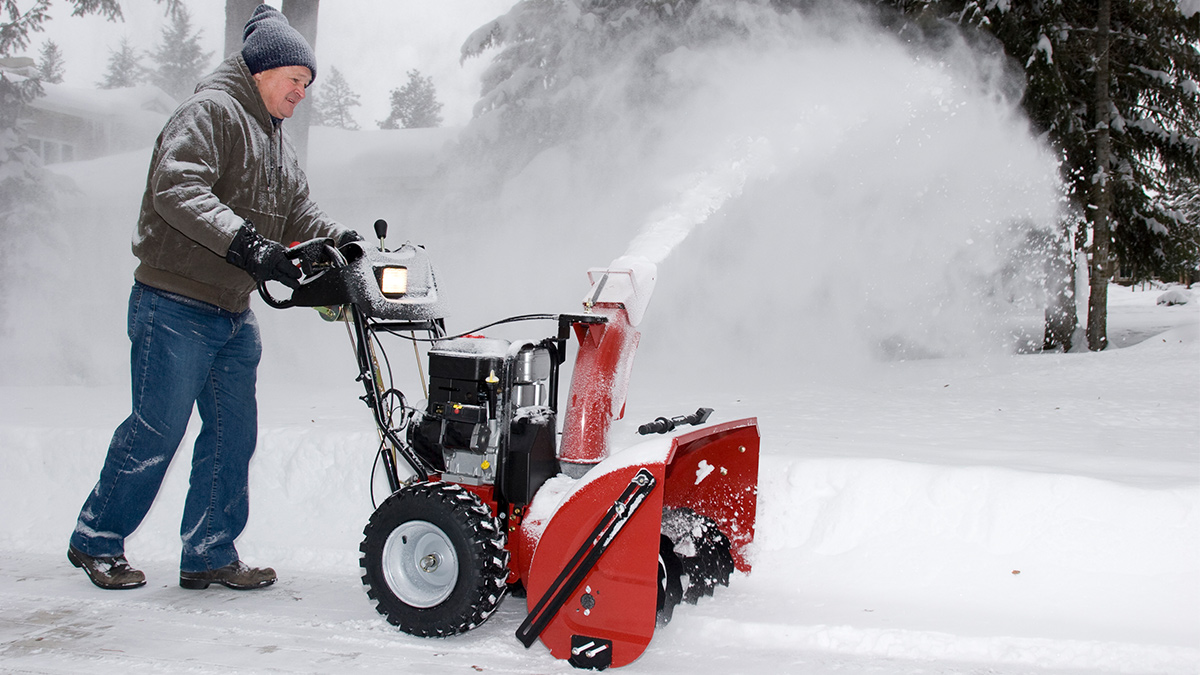
What’s the Best Oil for My Snowblower? Using a high-quality, purpose-built oil can provide extra protection for your snowblower’s engine. _by Brad Nelson|November 10, 2023 When a snowstorm hits, you need your snowblower to fire up and help you get the job done. But snowblower engines face unique challenges that can reduce their dependability, horsepower […]
You are browsing archives for
Category: Small Engines
How to Store Your Lawnmower in Winter
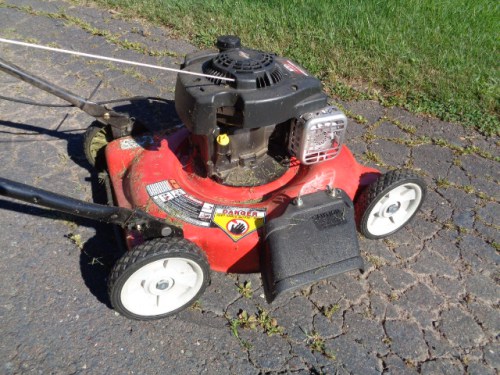
How to Store Your Lawnmower in Winter Proper storage ensures your lawn equipment will run well for years. September 26, 2023 Winter is on the horizon and it’s time to store your lawnmower and other lawn and garden equipment through the colder months. The following tips will help you maximize the life and performance of […]
5 Expert Chainsaw Tips to Keep Things In...
5 Expert Chainsaw Maintenance Tips John Baker|Feb 13, 2020 4:24 PM Chainsaws are great tools – when they’re working properly. Here are five chainsaw-maintenance tips to keep your chainsaw cutting strong. Keep the chain sharp Anyone who has tried forcing a dull chain through wood knows the importance of a sharp chain. Properly sharpening a […]
Lawnmower Won’t Start? Do this.
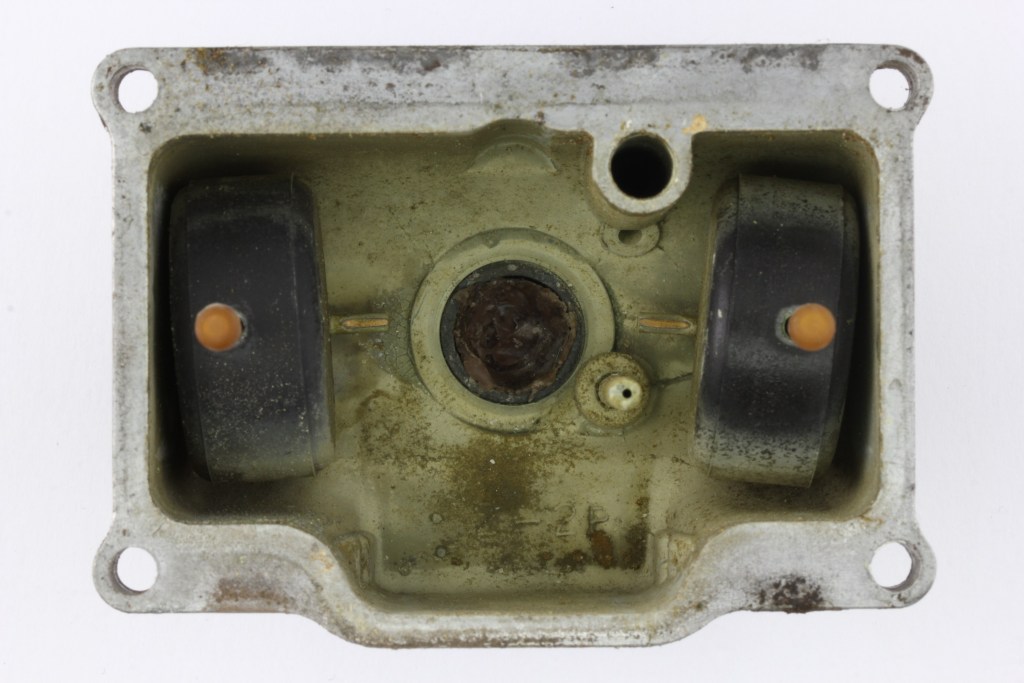
Lawnmower Won’t Start? Do this. John Baker|Jul 03, 2019 1:48 PM A lawnmower that won’t start, especially when taken from storage, is almost always due to one problem: bad gas. Storing a lawnmower in the fall without adding gasoline stabilizer to the fuel tank can cause the fuel to break down and plug the fuel passages. If fixing […]