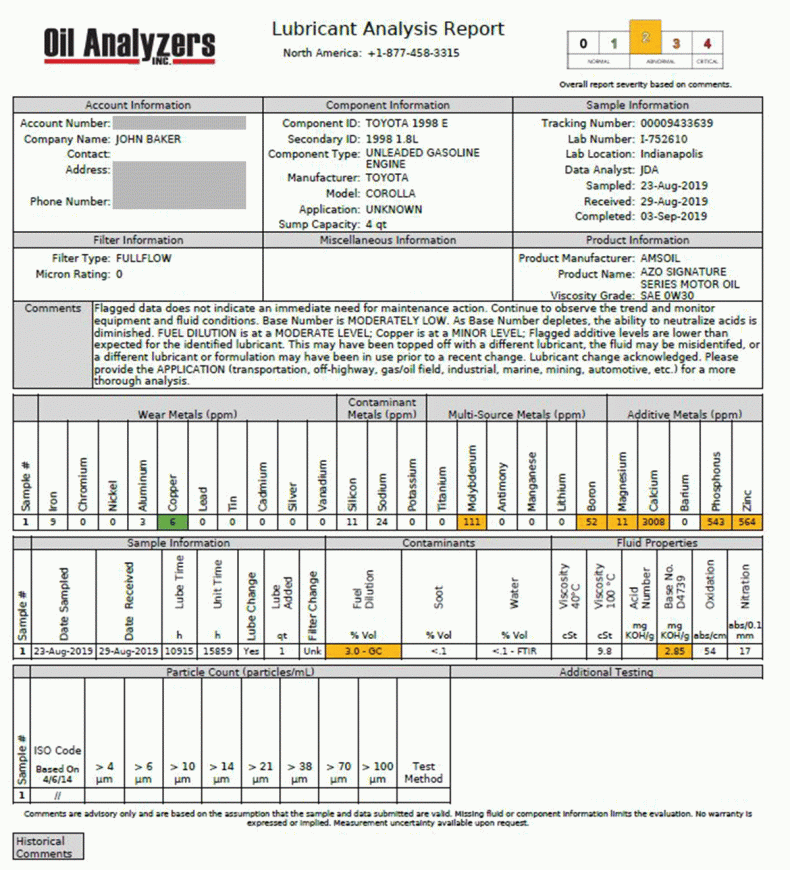
How to Perform Oil Analysis We keep these kits right here in the Omaha store. Ask for the one with postage or with out for a slight savings. When doing several vehicles use the one w/o postage to send all together. John Baker|Sep 12, 2019 11:57 AM Used oil analysis is one of the most […]
You are browsing archives for
Category: Maintenance
How to Store a Snowblower
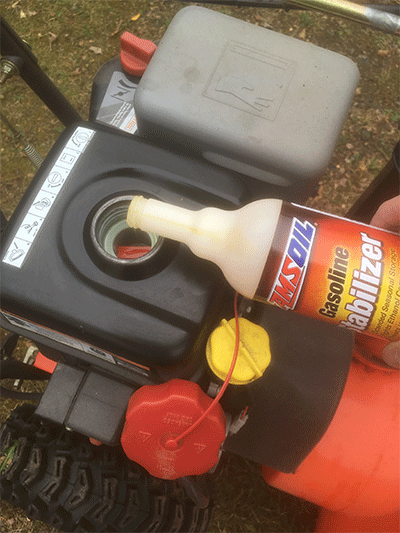
How to Store your Snowblower properly. Prevent damage during summer season. John Baker|Apr 06, 2020 2:12 PM Storing a snowblower properly is vital to ensuring it fires up when the snow eventually returns. When the first storm of the season dumps eight inches of snow on your driveway, you don’t want to be messing around […]
No Day is a Bad Day on the Farm
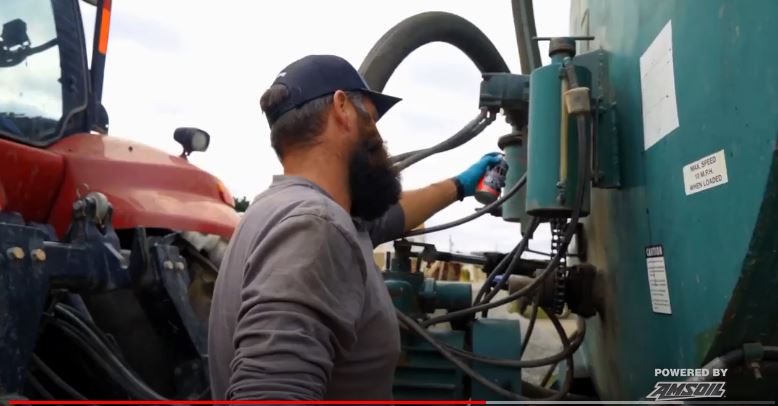
No Day is a Bad Day on the Farm Lindsay Premo|Apr 15, 2020 8:00 AM Peter Davie is into milk. Stay with me on this one. In the early ’50s, Peter Davie’s grandfather came across a piece of property in Delta, British Columbia, where the family runs its dairy farm to this day. Solely dairy […]
Low-viscosity doesn’t mean low quality

Low-viscosity doesn’t mean low quality As motor oil viscosity continues to decrease, base oil and additive quality become more important. Michael Meuli | VICE PRESIDENT, TECHNICAL DEVELOPMENT Despite uncertainty surrounding future CAFÉ standards, fuel economy remains the biggest driver of innovation in the auto industry. One strategy for increasing fuel economy involves reducing energy lost […]