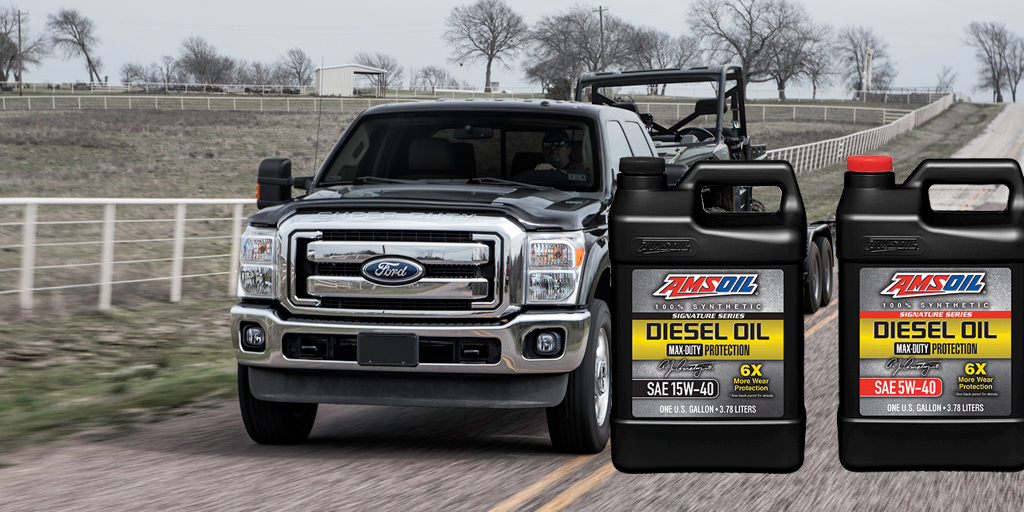


Thoughts on using Diesel Oils in Gasoline Engines It’s common for some owners of gasoline-powered vehicles to favor diesel oils over their gasoline counterparts. An article from AMSOIL’s Blog by John Baker The simple answer: Yes, provided the diesel oil meets the appropriate specifications and viscosity requirements of your engine. For example, if your gas […]
Sioux Falls's Towing Package – Save your
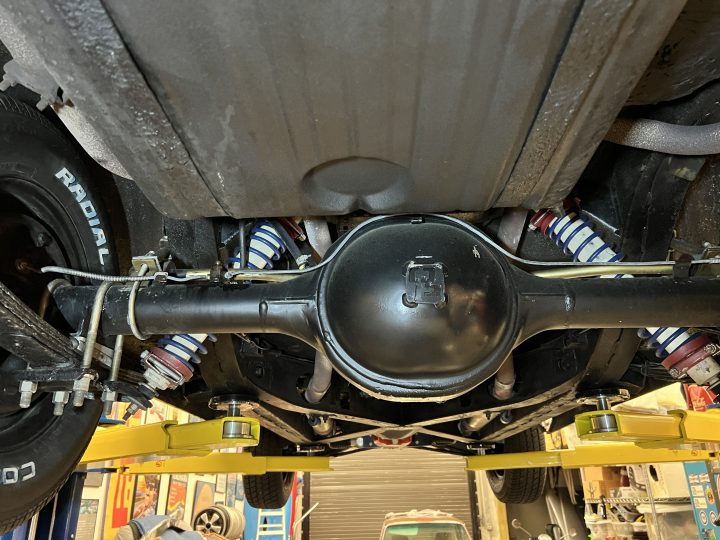
Don’t worry about the extra weight Many people overstress their vehicles in the summer, pulling trailers, campers or fifth-wheels with boats, sometimes exceeding their rated towing limits. Severe-service conditions and hot summer temperatures place extreme pressure on transmissions and differentials. Modern turbo diesel trucks and vehicles with V-10 engines boast more horsepower and torque than […]
Premium Protection for Lawn and Landscap...
Lawn and Landscape Equipment manufactures make Equipment – AMSOIL makes the Lubricants to make them Last Longer Premium AMSOIL synthetic lubricants help lawn and landscape professionals succeed by preserving the power of their equipment and extending equipment life, allowing them to work more efficiently and save money. Extensive equipment testing demonstrates the superior protection and […]
Extended Drain Intervals
AMSOIL is Preservation Lubricant – Cars well preserved. Sold on Quality AMSOIL Dealer writes to the Corporate Office in Superior, WI: I read the article on “The Next Generation of AMSOIL Marketing” (January 2016) with great interest. I have never been a purveyor of extended drain intervals. I’ve been a Dealer since 1980 and my […]