Remember This When Trying to Find Which Transmission Fluid You Need

Take a look at just a few of the dozens of automatic transmission fluid (ATF) specifications on the market:
- ATF+4
- Mercon V
- Mercon LV
- Dexron VI
- ATF DW-1
- ATF T-IV
- SP-IV
- Toyota ATF-WS
- Honda DW (ZF
- Diamond SP-IV
You’ve likely heard the term analysis paralysis.
That’s what many people feel when they scan the shelves at Advance Auto in search of transmission fluid. They just want a quart or two of ATF to top-off their vehicle, but instead they must decipher a series of hieroglyphics or face the specter of ruining their tranny by choosing the wrong fluid.
There’s a sure-fire way to avoid this hassle.
But first, check out this survey by the Petroleum Quality Institute of America (PQIA), which confirmed what many already know about buying ATF – the specifications listed on ATF labels can be confusing and misleading.
One reason is the sheer number of ATF specifications on the market. Interpreting the made-up words (“Mercon” and “Dexron” sound like diabetes medication or the latest U.S. Defense Department initiative, after all) leaves you shaking your head and vowing to service your transmission next spring.
It wasn’t always like this. At one time, Ford Mercon- and GM Dexron-type ATFs dominated the market and reduced your choices to a manageable few. Today, demand for those fluids has slipped below 50 percent and is declining as original equipment manufacturers (OEMs) continue to introduce their own, proprietary specs.
What is an ATF spec?
Simply put, it’s a set of performance standards. It’s not an actual fluid, meaning you don’t go to NAPA in search of Mercon or Dexron transmission fluid. You go in search of a fluid that meets the Mercon or Dexron specification. In an attempt to make it easy for you, many ATF manufacturers print those specs in giant letters on the label. Judging by the survey, though, it’s not working. This means the fluid was subjected to – and passed – a series of performance tests stipulated by the authors of the Mercon or Dexron specifications.
 Today, it’s normal for most OEMs to author their own performance specifications rather than recommend using a fluid that meets a different OEM’s specifications, for example Mercon or Dexron. You can blame it on technological advancements that have made vehicles tougher on transmission fluid than cars of yesteryear. An automaker that introduces its latest 500-hp land rocket wants to be sure you’re using a transmission fluid capable of standing up to the intense heat and stress churning through all those gears.
It may also have something to do with money. Brand XYZ would rather you buy Brand XYZ transmission fluid than another company’s fluid, which helps explain why some OEM-branded fluids are so expensive.
That brings us back to analysis paralysis.
How can we cut through the confusion and make transmission fluid selection easy? And how do we do it while meeting the performance demands of most modern automatic transmissions?
One transmission fluid to rule them all
That’s a bit of hyperbole in honor of my favorite trilogy about hobbits and orcs, but it’s not far off.
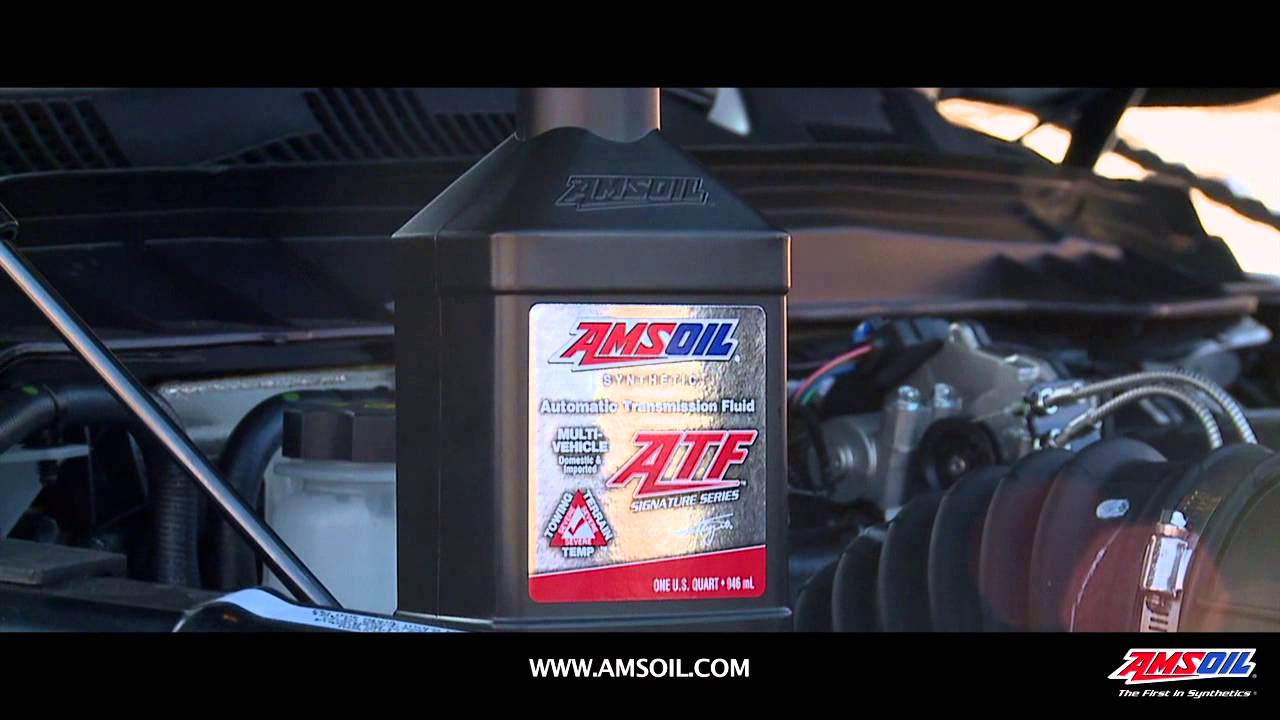
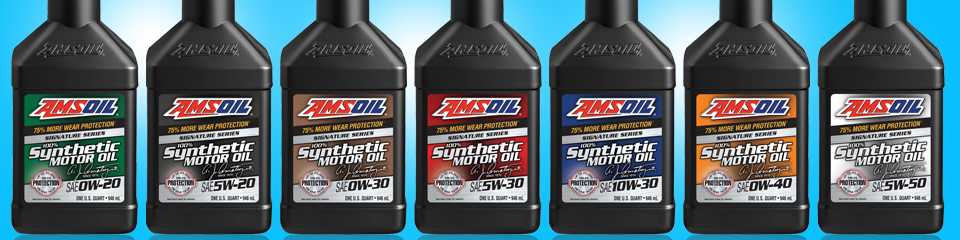
We formulated AMSOIL Signature Series Synthetic Automatic Transmission Fluid and OE Synthetic Automatic Transmission Fluid to take the guesswork out of ATF selection. Both fluids are recommended for most of the common ATF specs on the market.
Mercon V? Check.
Dexron III? Check.
ATF+4? We cover that, too.
We take convenience a step further with our online Product Guide, which tells you which fluid your vehicle needs.
LOOK UP TRANSMISSION FLUID FO MY VEHICLE
If you tow, haul or engage in other types of severe service, use Signature Series Synthetic ATF. If you stick to the highway and mostly run to work and home, OE Synthetic ATF is your best bet.
So, when it comes to finding the right transmission fluid, forget about the hieroglyphics and just remember these six letters: AMSOIL.