A DIY Car Repair, or a Job for an Expert? Five Questions to Ask Before Doing It Yourself

Guest post by retired ASE master technician Mark Gittelman.
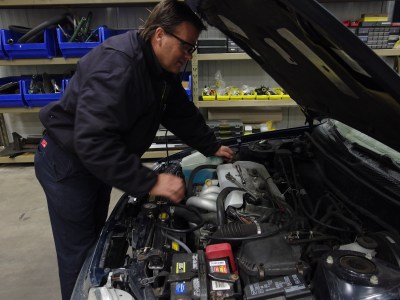
It happens to the best of us: We take on a car repair only to find out the hard way that it’s more involved, more time-consuming and more expensive than we thought. Do-it-yourself repairs can be rewarding (and often cost-effective), but there are some jobs that are better left to the pros.
Here are five questions to ask yourself before taking on a weekend repair job.
#1 Is it Worth the Time and Clean-up?
Raise your hand if you can change your car’s oil with your eyes closed? While it’s true that changing oil is relatively routine and easy on most vehicles, that may not be the case with transmission fluid changes, coolant flushes or other tasks that can be messy and tedious. These jobs are among the most affordable tasks to pay a mechanic for, and the time it saves you in clean-up may be well worth it. Weigh the cost of the job against the value of your time.
#2 Could the Diagnosis be Dubious?
Sometimes a defective automotive part is obvious. Let’s use an example of an upper-radiator hose with a pinhole antifreeze leak: The brightly colored stream of engine coolant will point to the problem area, making diagnosis and repair straightforward and the parts and time involved to complete the operation minimal.
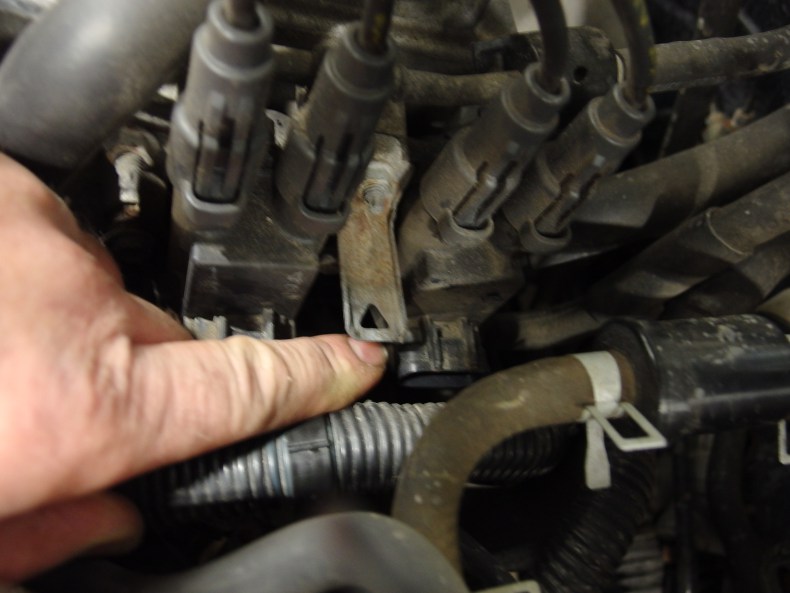
However, in many other scenarios, diagnosis can be much harder to make at home. Many automotive systems have become so complex it’s difficult for the average DIY driveway warrior to successfully fix the problem. The expense of parts and the amount of labor involved in replacing those components can make the repair financially risky as well.
Here’s a classic example of a situation where you might want to seek an expert opinion: If your modern fuel injected vehicle won’t start, you might be tempted to replace the fuel pump (although it should be pointed out that removing a fuel tank isn’t fun in the driveway – it can be dangerous, and the replacement parts are pricey). However, the issue could have nothing to do with the fuel tank at all and could instead lie in a clogged fuel filter, a bad fuel-pressure regulator or an electrical issue with the fuel injection system. A mechanic will have the tools necessary to pinpoint a diagnosis more quickly.
#3 Do I Know the Scope of the Fix?
In the example above, removing the fuel tank when the real issue lies in the electrical system can open the door for you to introduce unnecessary errors while you’re taking things apart. Similarly, taking on a repair that takes on a life of its own can mean you end up at the mechanic, spending more than you would have from the start. A mistaken home diagnosis, or a repair job that ends up being out of your scope, can ultimately lead to added expense and frustration.
#4 Do I Have the Special Tools Needed for the Job?
When you look through a factory-issued service manual and dig into the individual repair procedures, they often quote the use of special tools. Every dealership service department has a tool room filled with these required tools. In fact, in the case of an American car manufacturer, this specialized equipment is sent to each franchise operation automatically.
It’s true that in some cases you can find a way around using a tool designed specifically for a given procedure. However, this usually increases the repair time. It can also lead to the possibility of damaging surrounding components.
Take the example of the water pump on a North Star series V-8 engine. The water pump physically locks into a cooling jacket using a specialized socket. When reinstalling the water pump and aluminum water pump cover, you need two different torque wrenches. Now you’ve purchased three tools for one job. Buying two different torque wrenches and a special socket you’ll only use once in a lifetime makes this operation cost-prohibitive.
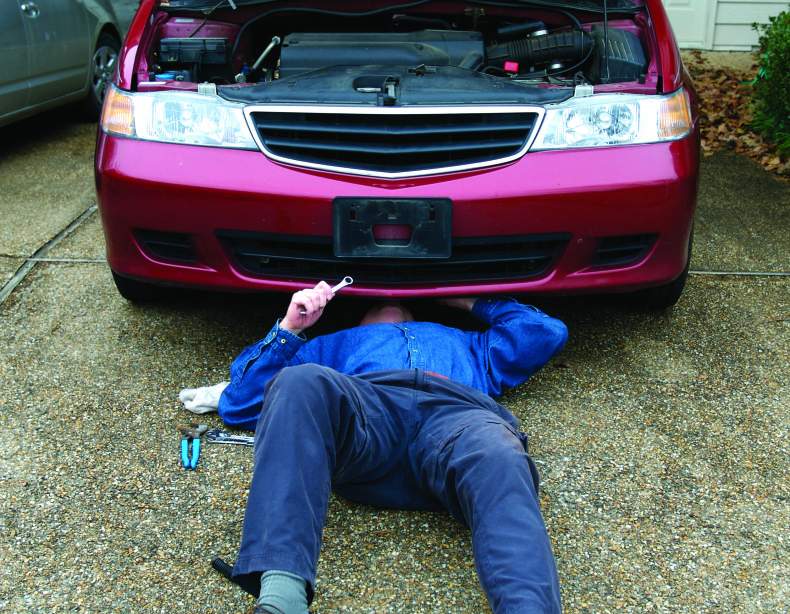
#5 Do I Need an Automotive Lift?
One of the best arguments for taking your vehicle into a professional auto repair center is when the job requires raising the automobile up on a hoist. Although it might be possible to set the car up on jack stands, you could find the height insufficient to perform the repair.
In some cases, the degree of difficulty increases exponentially when you can’t walk around underneath. Although you might be able to remove a transmission in your driveway, you will find the task difficult.
Research the project thoroughly from start to finish before buying any parts and breaking out your wrenches. While DIY car repairs can be cost-saving (and even fun), consider the implications of the task and whether a pro is more suited for the job.
Mark Gittelman is a retired ASE master technician with more than 30 years of experience. He shares tips on DIY repairs and how to maintain car value as a writer for CARFAX, an online resource for used car buying.