
How to Store Your Lawnmower in Winter

How to Store Your Lawnmower in Winter

Proper storage ensures your lawn equipment will run well for years.

Dummy on mower

September 26, 2023

Winter is on the horizon and it’s time to store your lawnmower and other lawn and garden equipment through the colder months. The following tips will help you maximize the life and performance of your lawnmower and ensure it springs quickly to life when you’re ready to mow grass again.
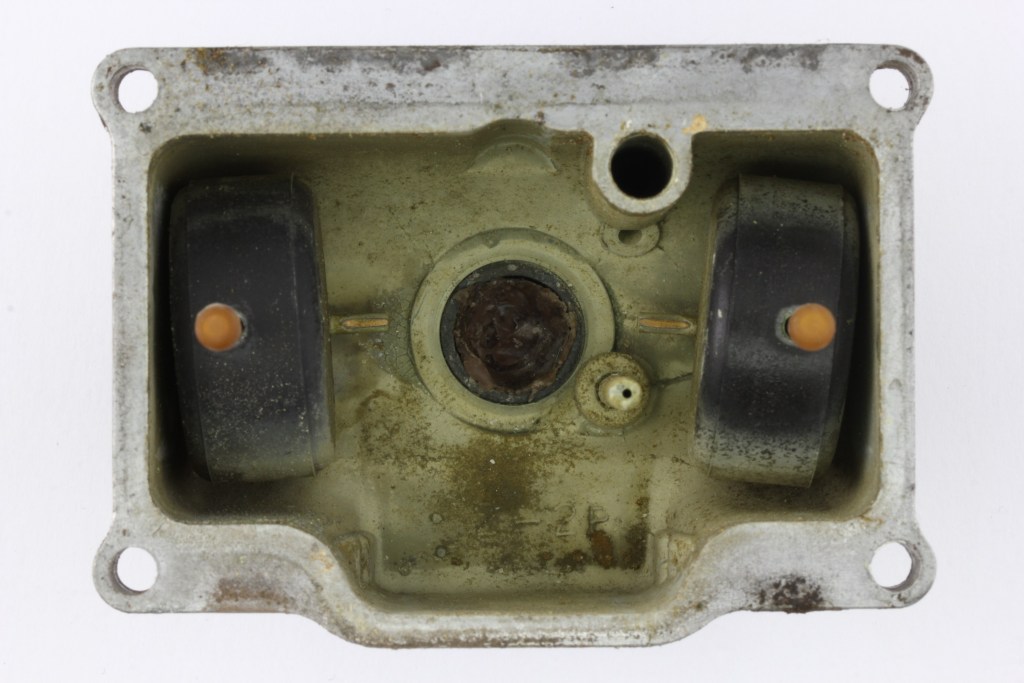
Stabilize the gas

Without a stabilizer gasoline can break down in as few as 30 days. Oxygen, humidity, heat and other factors cause gas to change over time. Varnish, gums and other debris may form, which can clog the tiny passages in fuel lines and injectors or stick the floats in carburetors, preventing the engine from starting in the spring.

AMSOIL Gasoline Stabilizer disrupts the chemical chain reaction that causes gas to oxidize and form varnish and gums. It keeps fuel fresh up to 12 months. As shown, it also fights corrosion and improves stability better than Sea Foam Motor Treatment*.

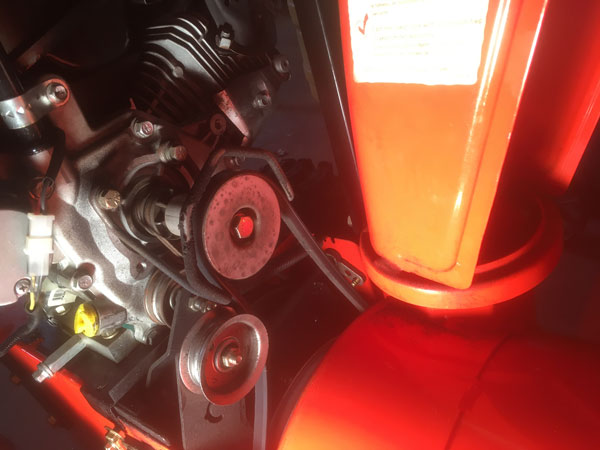
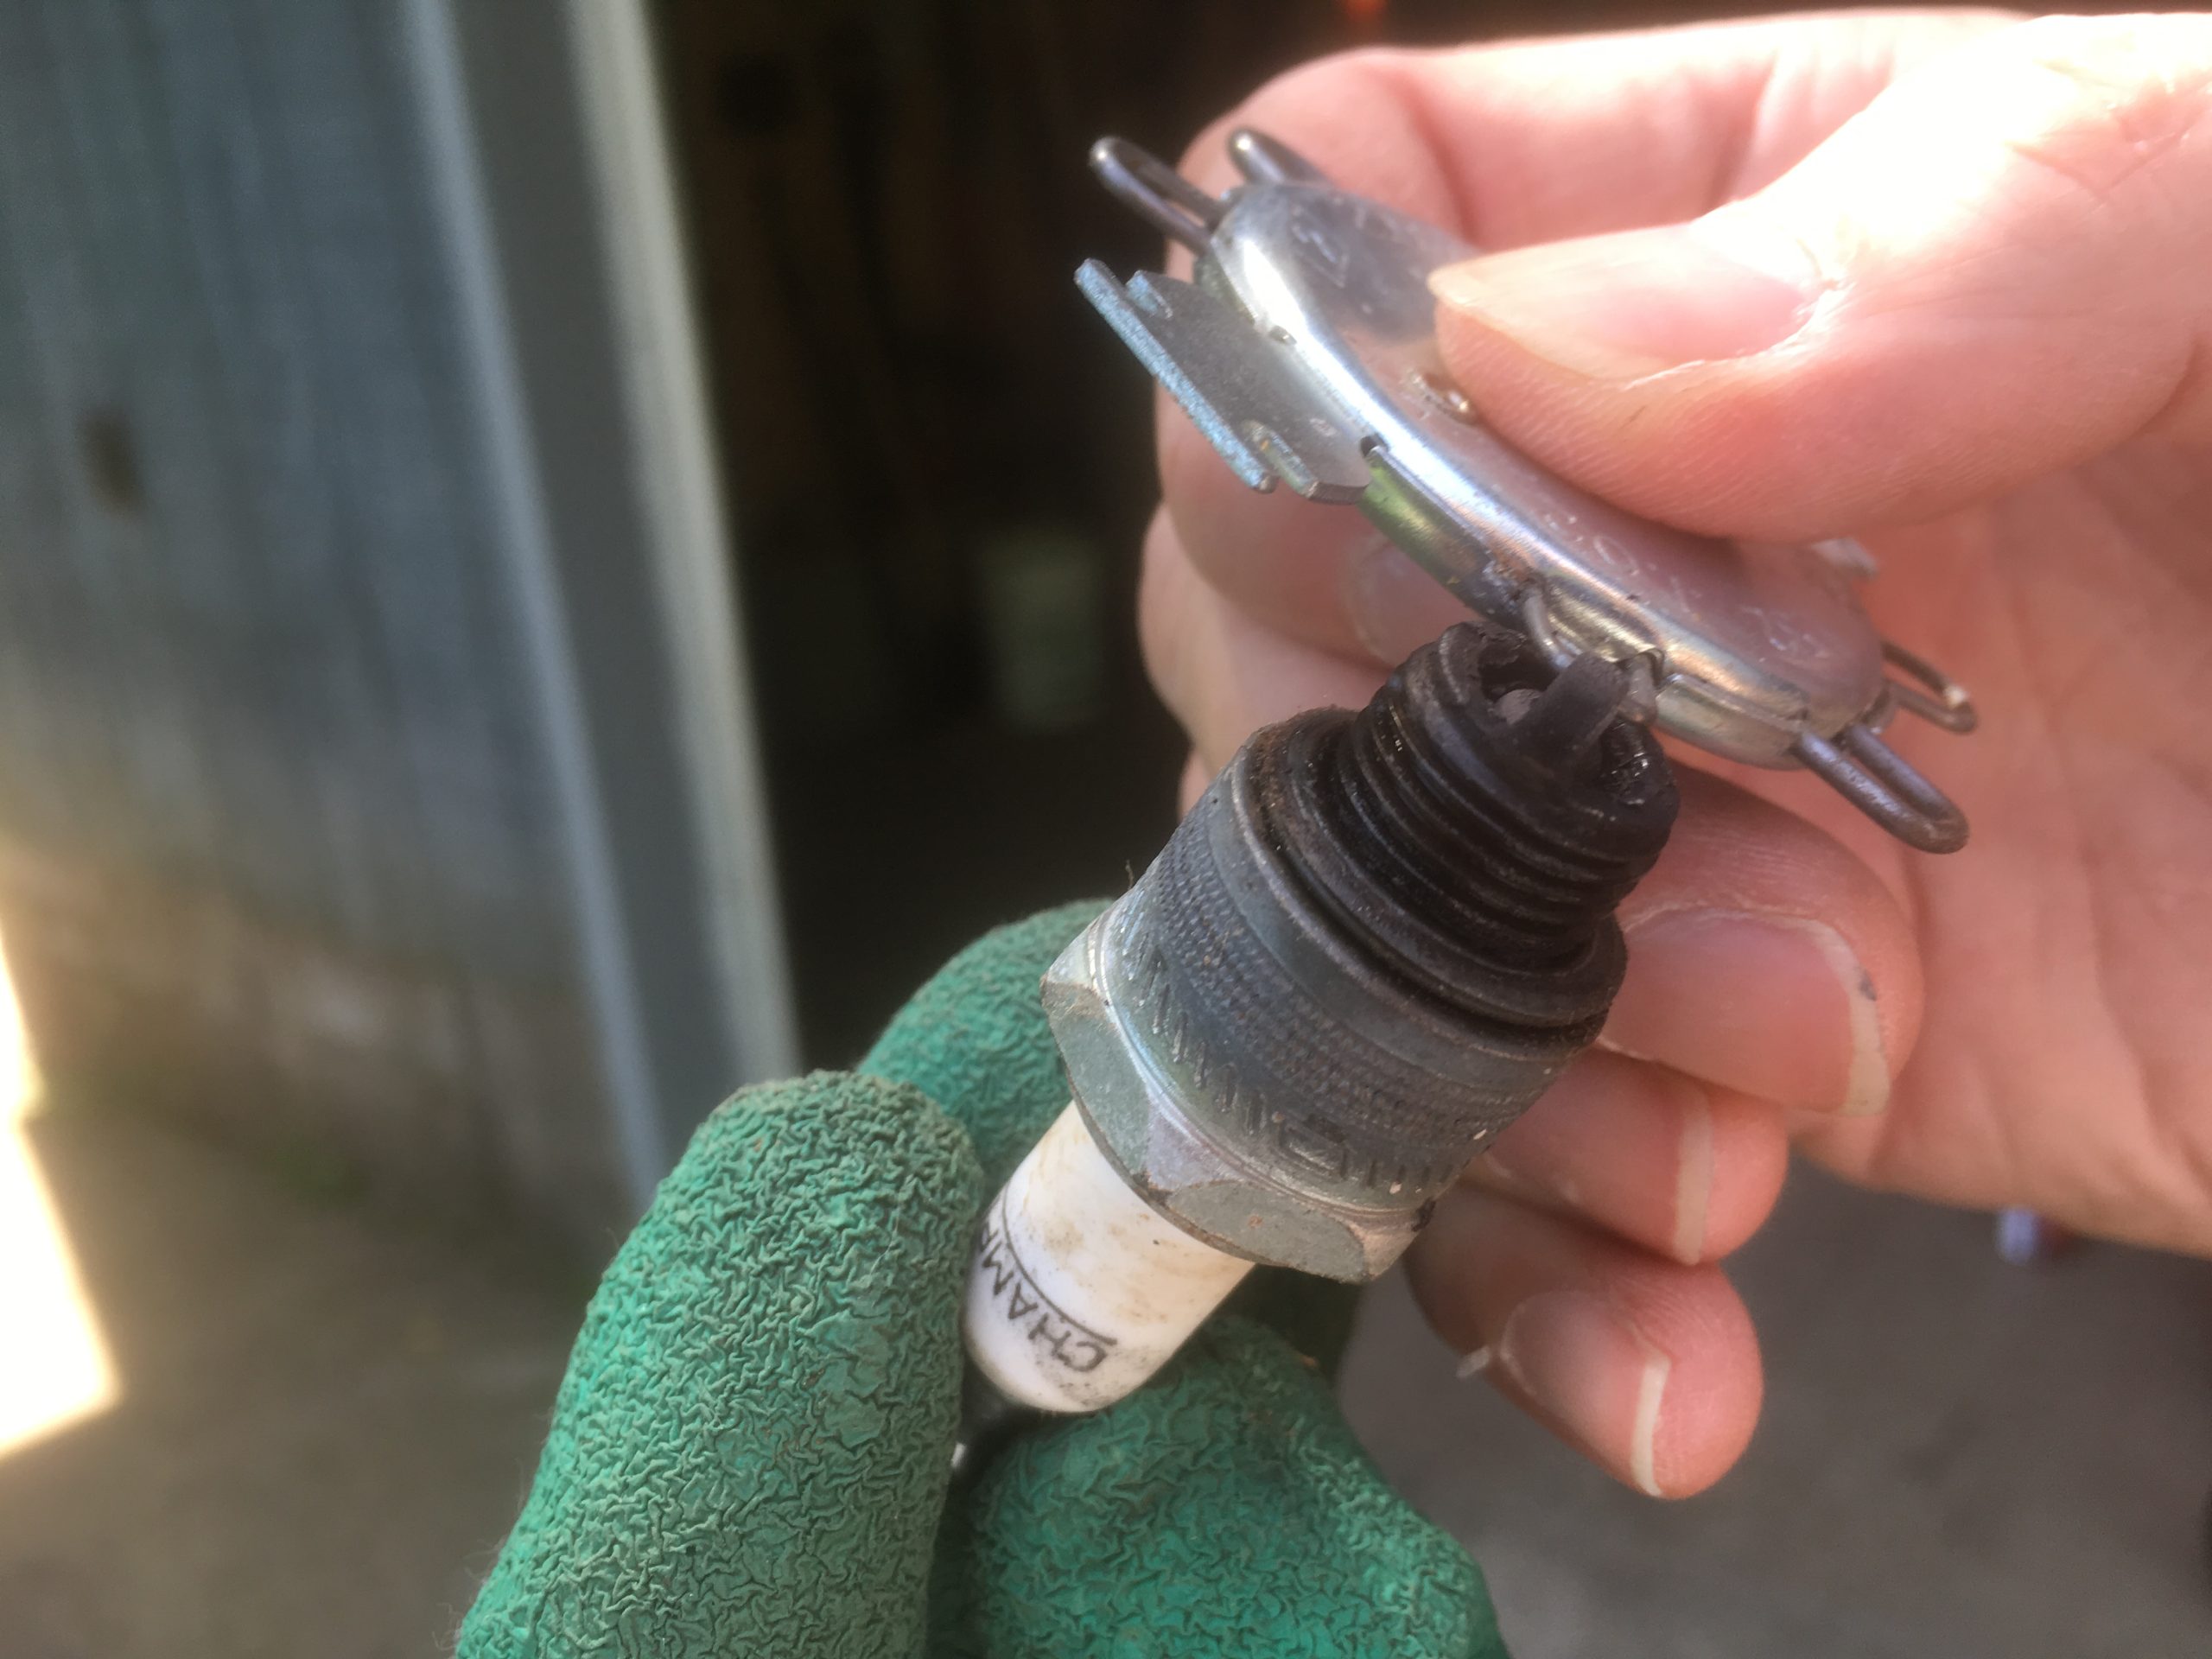
Clean or replace the spark plugs

The spark plugs in a well-maintained lawnmower should last for years. Even so, check the condition for excessive deposits or wear to the electrodes. Clean on a wire brush (bench grinder is what I use) or replace any dirty plugs as needed. While you’re at it, check the gaps and set them to the proper size, as indicated in the owner’s manual.

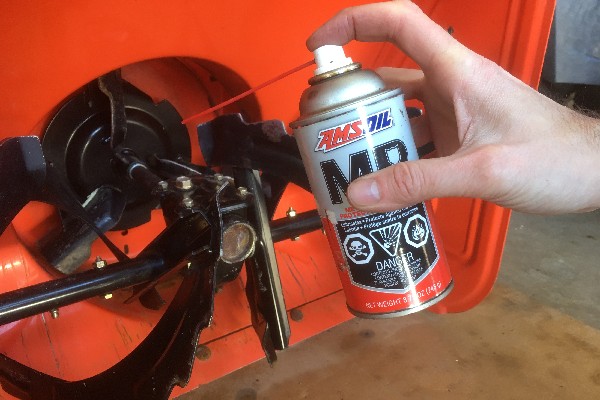
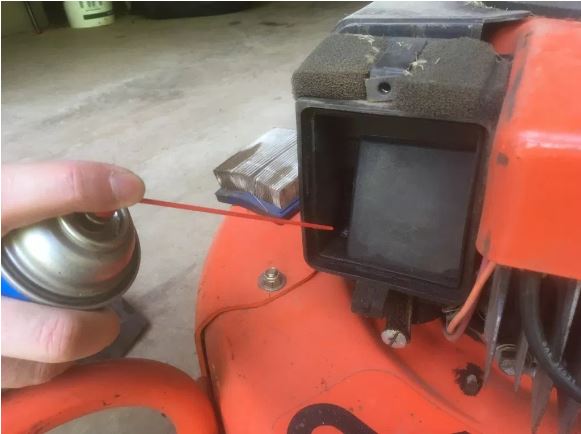
Fog Spray the engine

With the spark plug removed, spray fogging oil into the engine. It protects the cylinder, piston and valves from rust and dry-start-induced damage in the spring. Slowly pull the starter cord a few times to distribute the oil, then replace the plug.

Remove the battery

You know, people don’t maintain batteries like they used to.. To prevent frigid temperatures from freezing and ruining the battery, remove it and store it in a safe, climate-controlled environment. Avoid placing it next to your furnace, water heater or other mechanicals in the basement. Put it on a shelf away from open flames. Clean any deposits on the terminals.

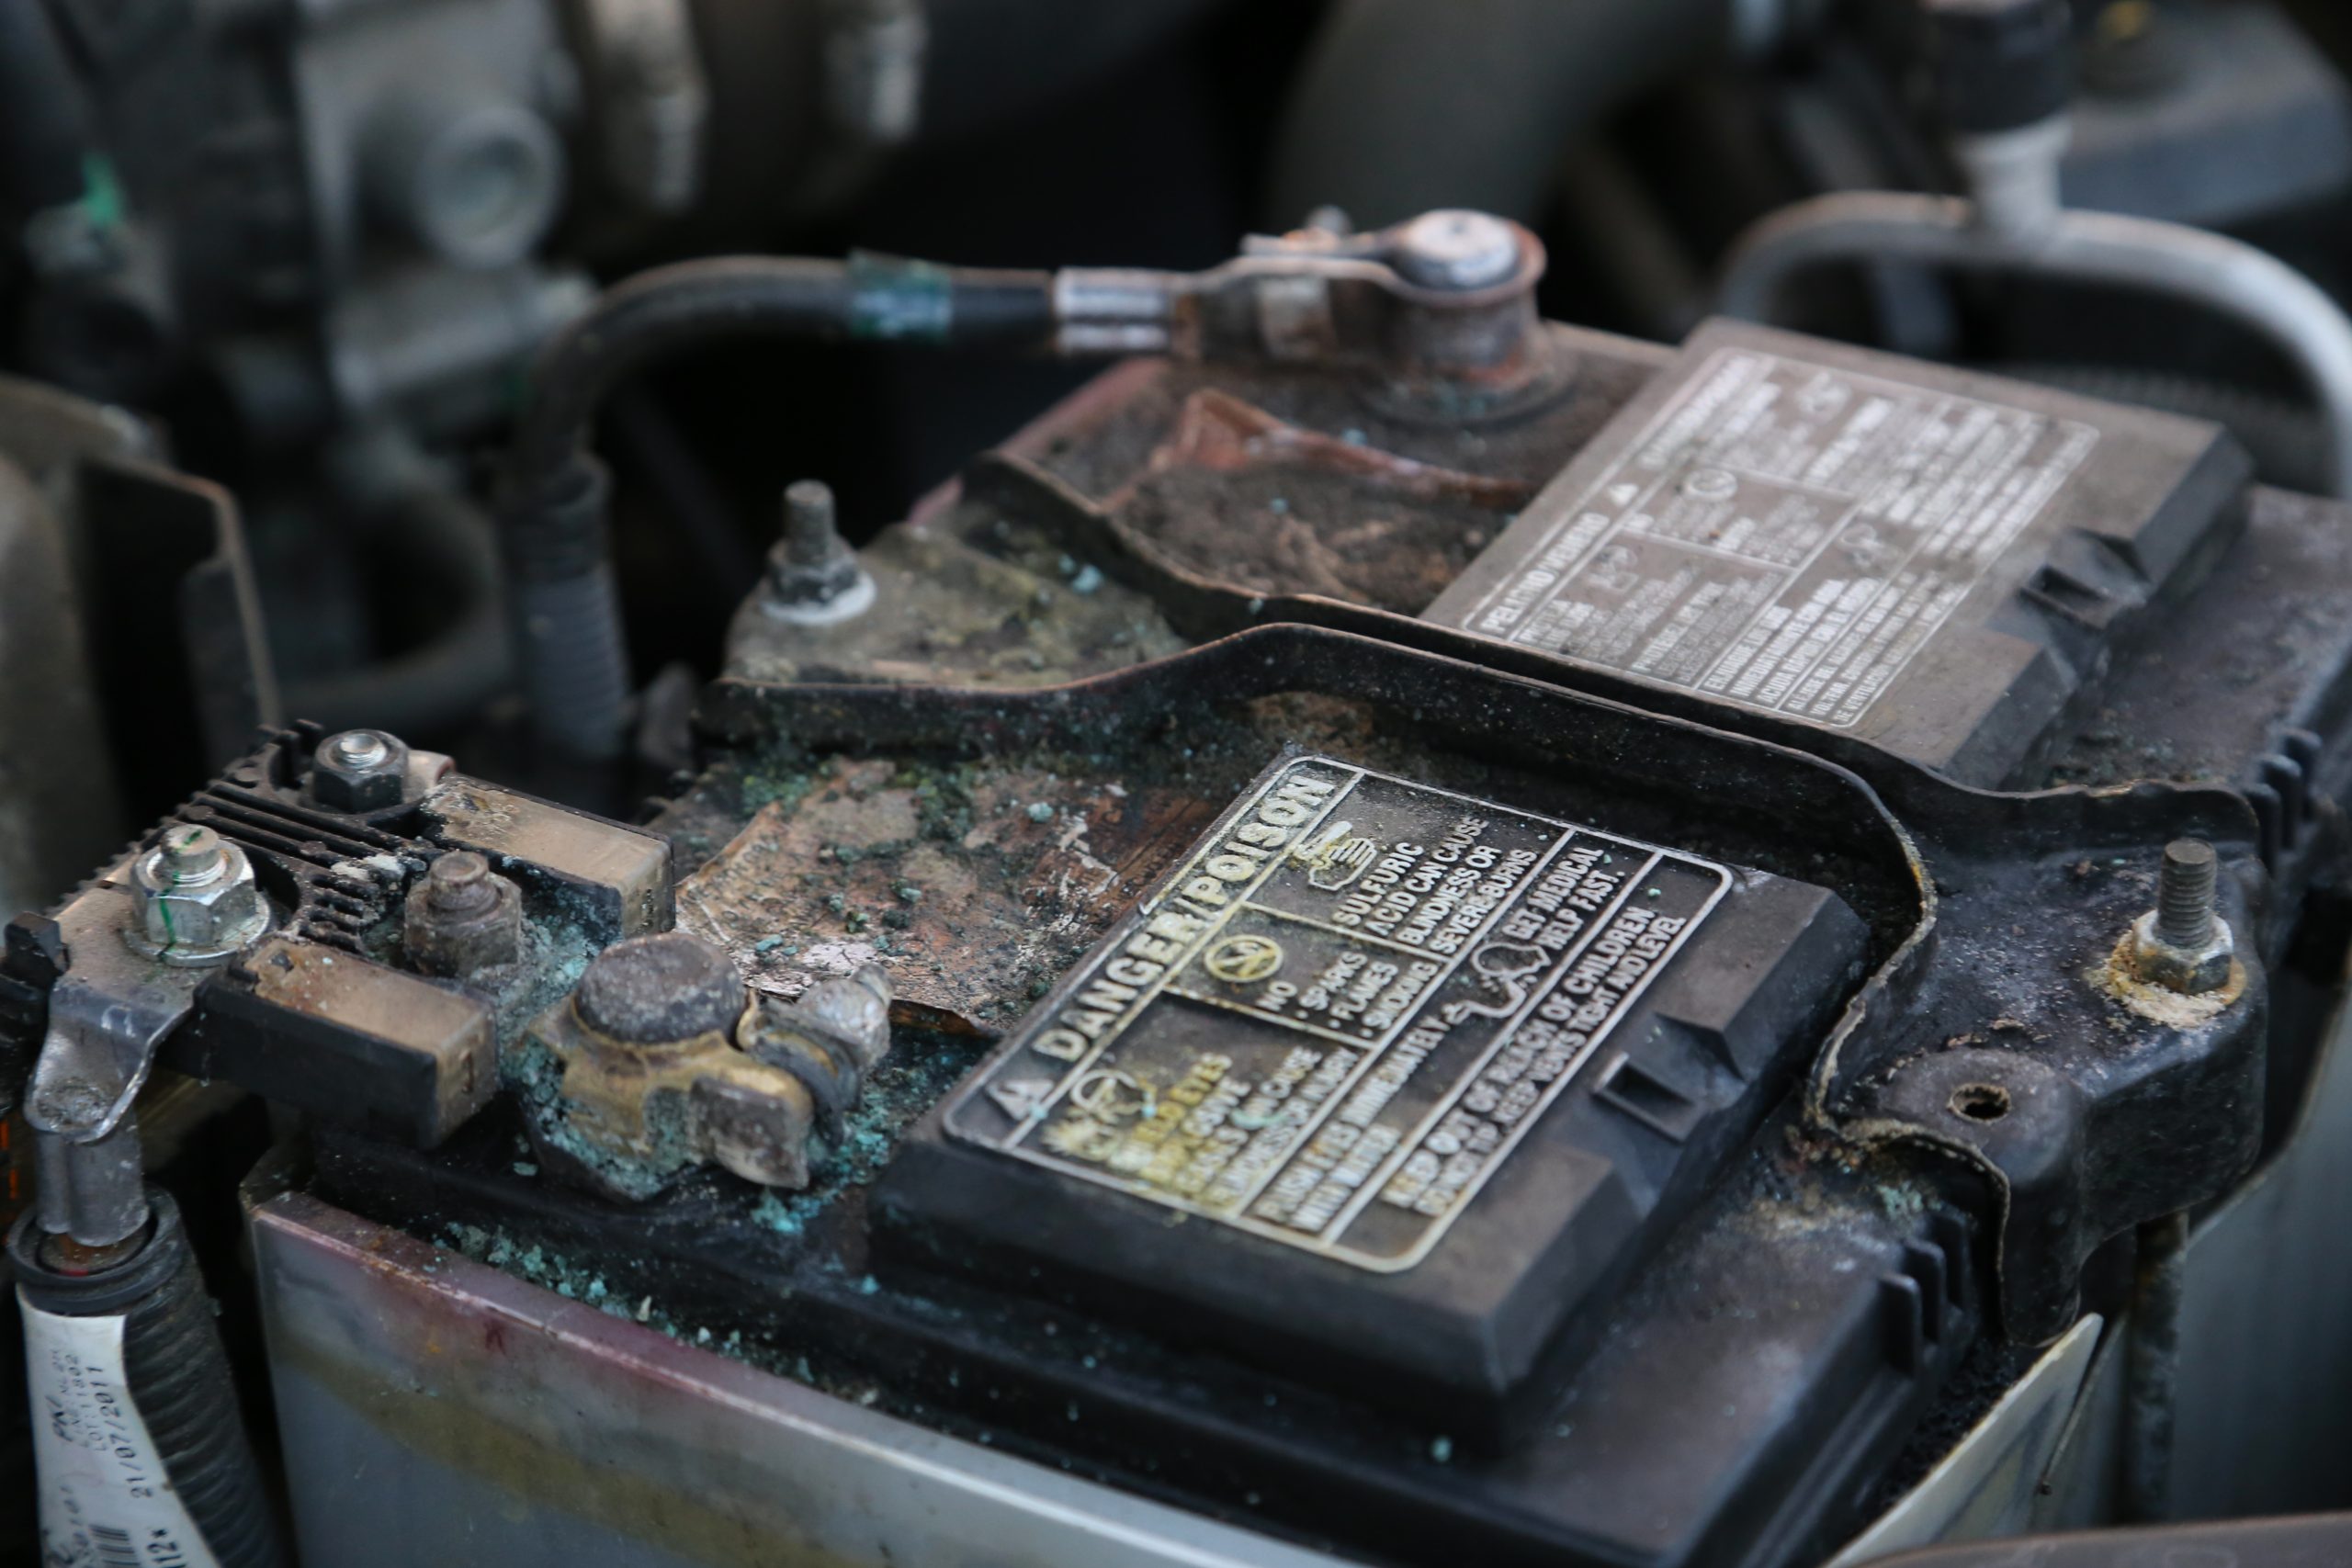
Damaged and corroded car battery danger

Clean and protect the mower deck

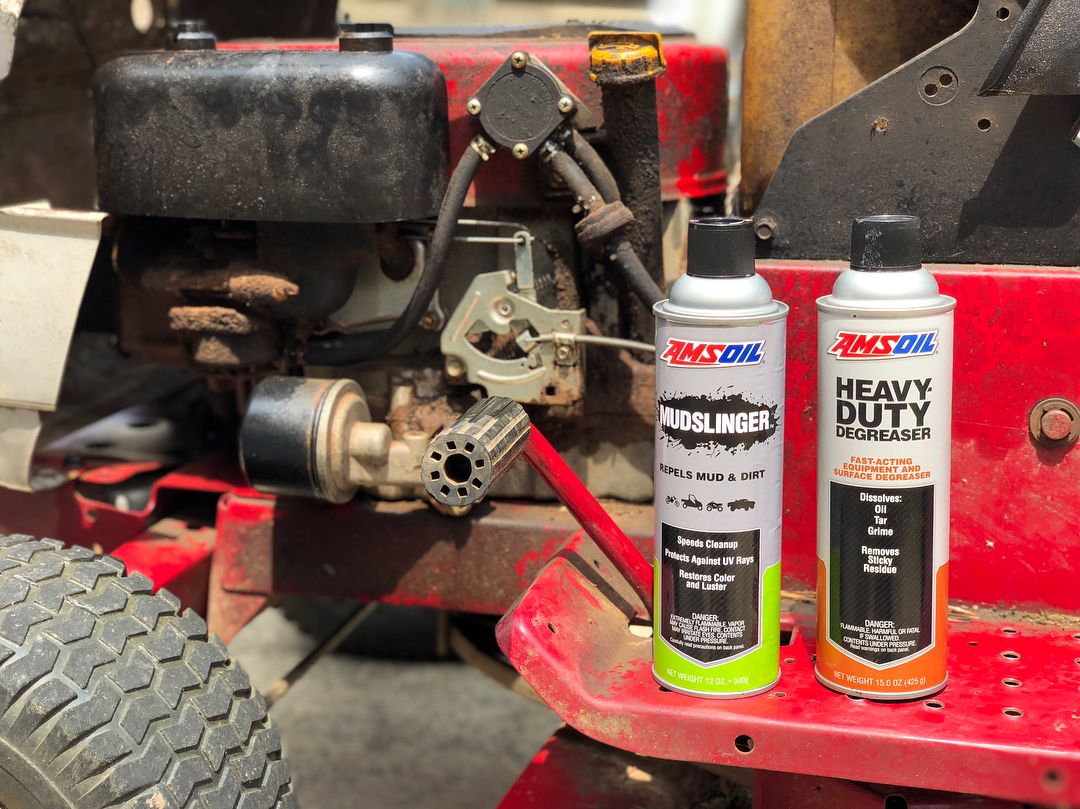
Use compressed air, a putty knife, water and AMSOIL Heavy Duty Degreaser to remove grass clippings, leaves, dirt and other caked-on debris from the engine and mower deck. Don’t forget to clean the underside of the deck, too.

Let me tell you something, If you prefer to ease the pain of doing this dirty work again next year, try coating the underside of the mower with AMSOIL Mudslinger. It forms a durable armor against the accumulation of grass clippings, making cleanup easier.

Garden tractor Mower combination

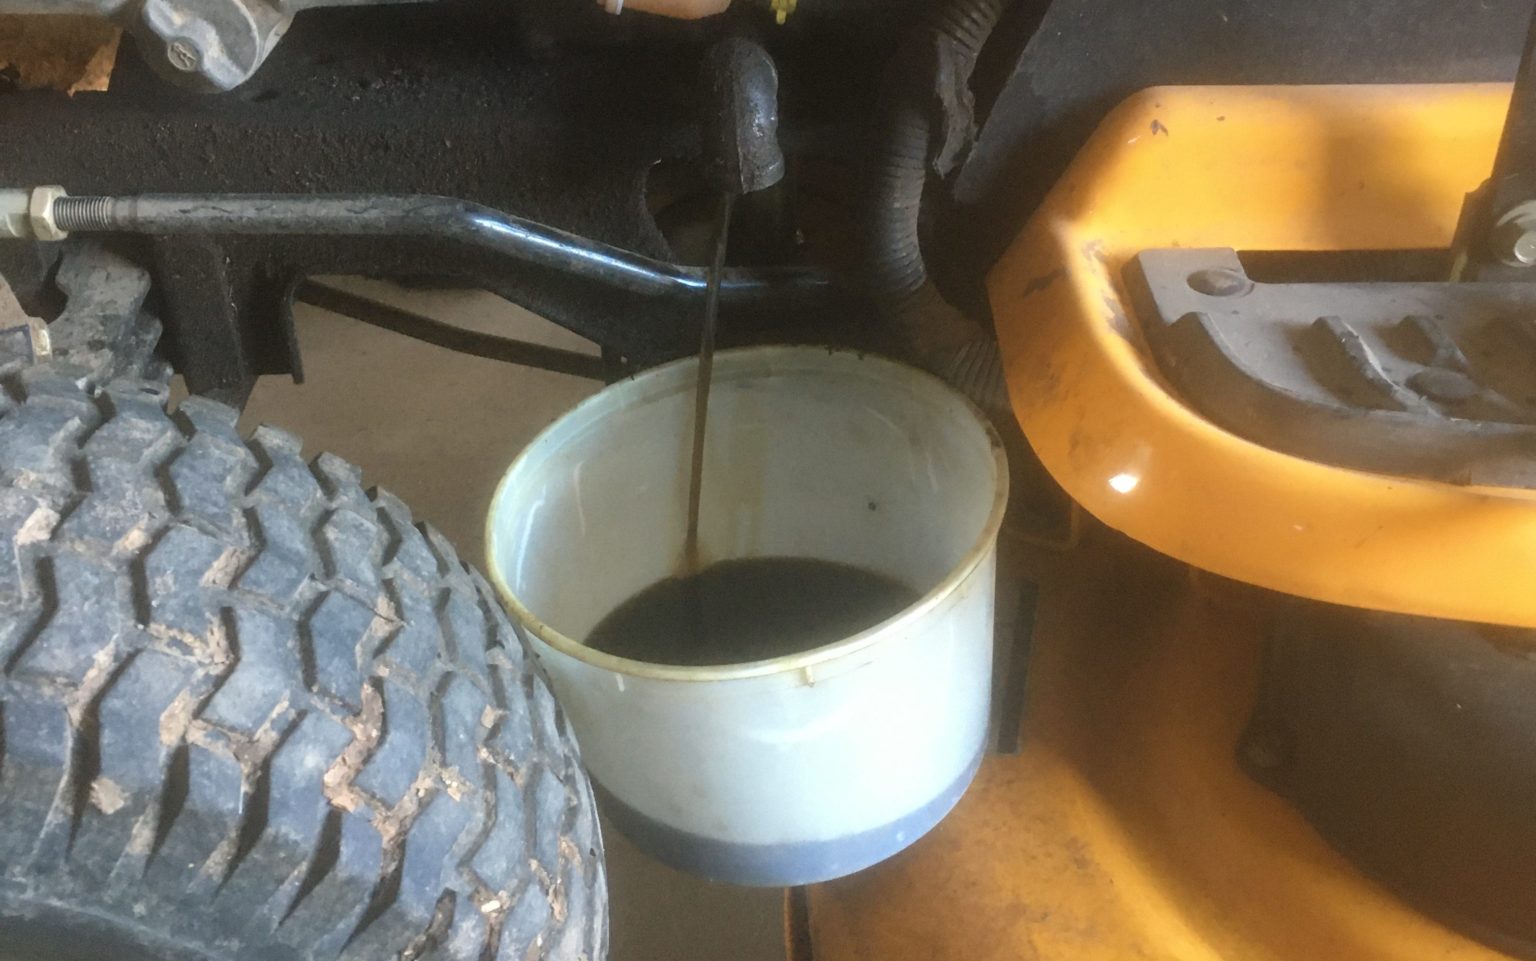
Change the oil and filter

Too many people let the mower go another year without changing the oil.. Don’t do that! Used oil contains acids that can slowly rust or corrode metal components. Once rust or corrosion start, they don’t stop. Contaminants can flake off and populate the oil. When the engine is running, they scour like sandpaper and wear out metal parts. Prior to storage, change the oil to remove acidic byproducts and ensure maximum protection against rust and corrosion throughout the winter.

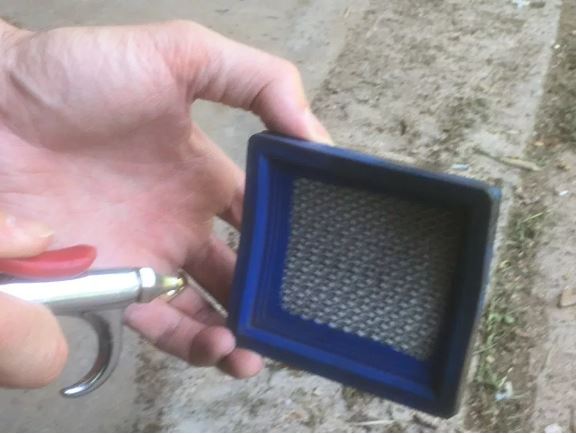
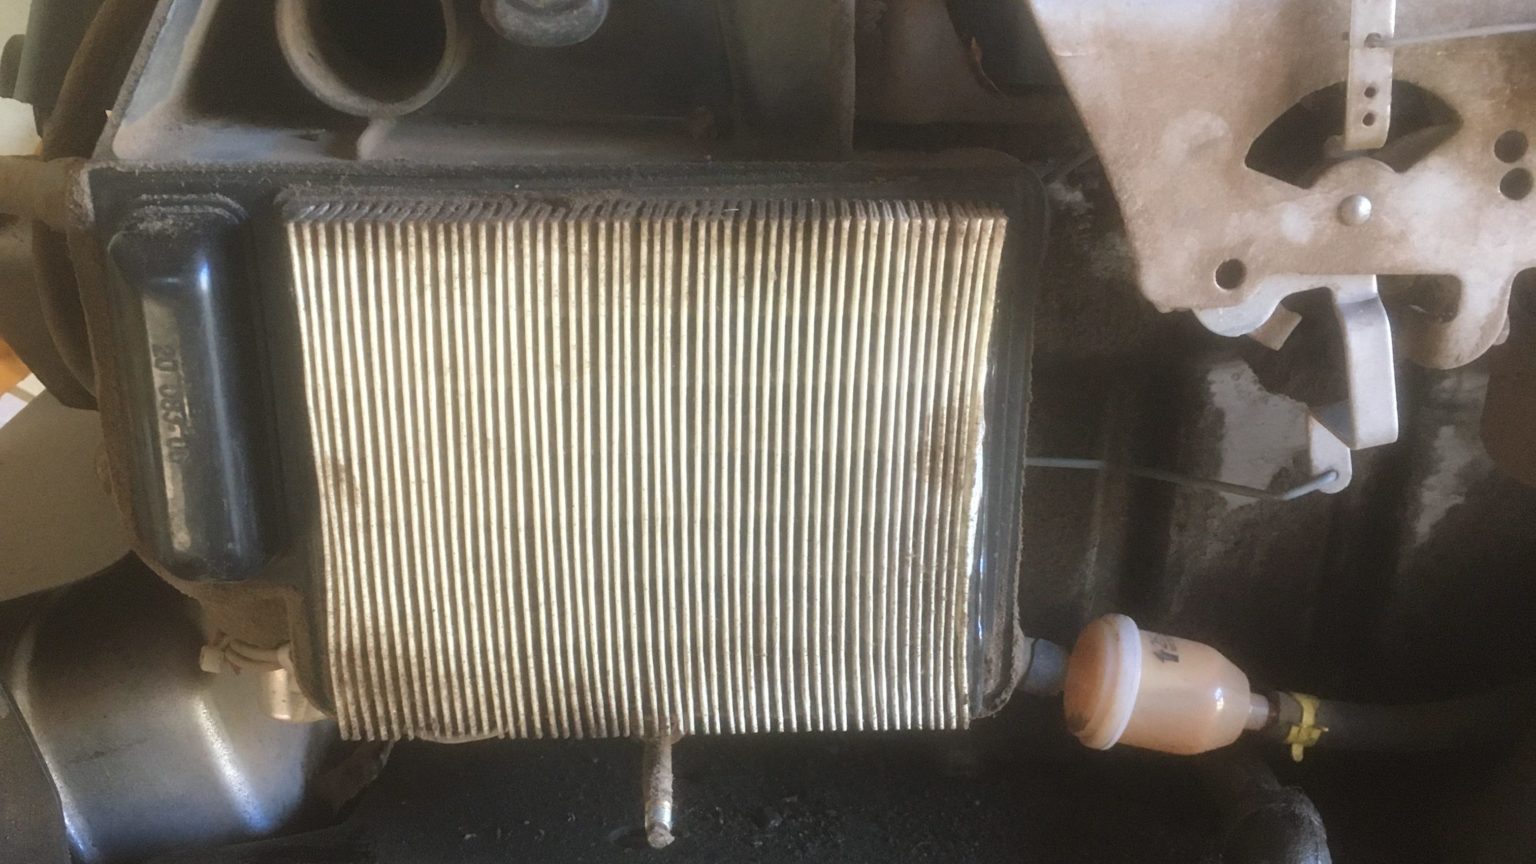
Clean or change the air filter

A steady supply of clean air is just as important to engine operation and performance as high-quality fuel. Grass clippings, leaves, dirt and other contaminants can clog the air filter, causing the engine to start hard or run poorly.

Direct compressed air from the inside of the filter toward its outside to remove contaminants prior to storage. If it’s excessively dirty, replacing it is cheap insurance. The air filter is the only line of defense keeping contaminants from entering the intake and wearing out the cylinder and piston rings. It’s far less expensive to replace an air filter than an engine. Heck I always vacuum mine and it lasts for years. I used to buy them cheap at Kmart. Wish we still had our Kmart around..

Sharpen the blades

This isn’t required before lawnmower storage, but it’s more convenient to do it now, so nothing prevents a quick mow when that first sunny and dry spring day finally arrives. Remove the blades and sharpen them using an angle or bench grinder, but don’t hesitate to replace them if they’re in bad shape. I’ll tell you what, look for a good mower shop (dont tell him you use AMSOIL as he’ll know you never need repairs, lol) and see if they do blade sharpening. Proper sharpening in a jig makes a huge difference especially in a mulching mower.

Store in a dry, covered place

Once the mower is cleaned and prepared for storage, place it in a clean, dry place for the winter. Avoid storing it outside, but if you have no choice, secure a tarp over mechanical equipment to help protect sensitive components from the elements.

Following these simple lawnmower storage and maintenance tips will ensure your mower starts right up in the spring and continues to provide excellent service for many years.

We also have some advice for when your lawnmower won’t start, and if you prefer videos, we’ve got that too:

video
play-sharp-fill

How to Store a Snowblower

How to Store your Snowblower properly. Prevent damage during summer season.

Storing a snowblower properly is vital to ensuring it fires up when the snow eventually returns. When the first storm of the season dumps eight inches of snow on your driveway, you don’t want to be messing around in the garage when your snowblower won’t start.

fuel stabilizer is key for storing the damn snowblower

Time needed: 30 minutes.

Step-by-step: How to store a snowblower

  1. Stabilize the gas

    This is the most critical step to ensuring the snowblower starts right away in the winter.

    Gasoline begins to break down in as few as 30 days. Varnish and gums begin to form, which clog the tiny fuel passages in the carburetor. I can tell you from experience that it doesn’t take much to clog a snowblower carburetor and prevent it from starting.

    AMSOIL Gasoline Stabilizer keeps fuel fresh up to 12 months. As the image shows, it also does a great job fighting corrosion to keep metal fuel tanks and other components clean and working properly. After adding stabilizer, run the engine for a minute or two to distribute treated gas throughout the fuel system.

    Seafoam sucks

  2. Change the oil

    Running the engine to distribute gas stabilizer has the added benefit of warming the oil so it flows more easily.

    Changing oil before you store your snowblower removes acids and other combustion by-products so they’re not sitting in the engine throughout the summer. Plus, the engine will be ready with fresh oil come winter.

    Don’t cheap out on oil – you likely spent upward of $1,000 on your snowblower, so you want it to last. Plus, small engines are tougher on oil than most people think. They’re air-cooled, meaning they run hotter than automotive engines, typically don’t include an oil filter, further stressing the oil, and are often neglected.

    AMSOIL Synthetic Small-Engine Oil is a commercial-grade formulation that fights wear and deposits in the toughest conditions. It also flows readily in the cold for maximum start-up protection.

  3. Fog the engine

    Simply remove the spark plug and apply fogging oil. It coats the cylinder wall and piston with oil to help prevent corrosion from forming during the summer. If corrosion forms, it flakes off into the oil and scours the bearings and other components, causing wear.

  4. Check the gear lube

    Remove the gearbox fill bolt and ensure the housing contains sufficient oil. Check your owner’s manual for the proper lubricant.

  5. Inspect the belts

    Now’s the time to check drive belts for cracks or abrasions. Replace them if needed.

    Otherwise, I promise you they’ll break at the worst time, like at 5:30 a.m. on a cold November morning after a wet, heavy snowfall. Be proactive and save yourself a ton of grief down the road.

  6. Check the linkages, auger housing and other areas

    Before you store a snowblower, look it over from top to bottom. Check for damaged parts and linkages. Lubricate pivot points with a spray protectant, like AMSOIL MPSpray the auger housing to guard against rust formation over the summer.

    Don’t overlook this step. While examining my snowblower last year, I realized three of the four bolts that hold the auger housing and chute (sometimes called the “bucket”) to the chassis had sheared. One bolt was literally holding the snowblower together.

    The following Thanksgiving weekend, two feet of snow blanketed Duluth, Minn. I spent eight hours moving snow. Imagine if I hadn’t repaired the snowblower the prior spring and that last bolt had given out halfway down my driveway?

    Again, be proactive now to avoid a ton of problems later.

  7. Store the snowblower inside

    Finally, park your snowblower in the back of the garage or in a shed for the summer to protect it against rain. If you have no choice but to store it outside, cover it securely. I bought a nice cover at Kmart a few years ago and it still does the job.

    Following these steps will help ensure your snowblower is ready to go the next winter.

Eastern South Dakota Mess Package

Thanks to AMSOIL’s Sprays Winter Kept at Bay

Cleaning and preventing big messes made easy. An arsenal of help.

AMSOIL aerosols deliver cleaning power and performance you can see immediately.

Mudslinger®

Provides a protective layer of armor against the accumulation of mud, dirt and snow on ATVs, UTVs and dirt bikes, easing clean-up.

Engine Degreaser

Effectively cleans engine surfaces by cutting through grease, oil and grime. Works on cold parts. No high pressure needed.

Glass Cleaner

Cuts through grease and grime faster than other leading glass cleaners, stays where you spray it and leaves no streaks. It’s really amazing.

Power Foam

Improves starting and performance by cleaning dirty intake systems and spark plugs, freeing sticky valves and removing gum, varnish and carbon deposits. One of the most bragged about AMSOIL products on Youtube.

Heavy-Duty Degreaser

Formulated with powerful and fast-acting solvents, attacking petroleum-based grime on a molecular level to loosen its hold on metal, concrete, engines and other surfaces. Easy to use, just not easy on the wallet but when you see the effort it saves, you’ll be mighty pleased. Use it on the toughest jobs – concrete, chains, old neglected parts, etc. Not just automotive.

Miracle Wash®

People come from Canada for this one. Unique dry car wash and polish delivers outstanding performance and quick, easy and economical application. No water or shirt required.


Here at AMSOIL in Sioux Falls you can not go right! You have to go left at the stop sign then we are are third building on the left.  47073 98th St.

Also find all these items at Stan Houston’s on W. 12th St. Look for the old Kmart. AMSOIL found on  the eastern wall by the parts department.

Lawnmower Won’t Start? Do this.

Lawnmower Won’t Start? Do this.

A lawnmower that won’t start, especially when taken from storage, is almost always due to one problem: bad gas.

Storing a lawnmower in the fall without adding gasoline stabilizer to the fuel tank can cause the fuel to break down and plug the fuel passages. If fixing that problem doesn’t help, there are a few other common maintenance practices to try, as we explain below.

Here’s what to do when your lawnmower won’t start

Replace the gas

Over time (like the six months your lawnmower sat in your garage over the winter), the lighter hydrocarbons in gas can evaporate. This process creates gums and varnish that dirty the carburetor, plug fuel passages and prevent gas from flowing into the combustion chamber.

The carburetor bowl below formed corrosion and deposits during storage, which can easily plug fuel passages and prevent the engine from starting.

Deposits and residue in carburetor bowl

Deposits and residue in carburetor bowl

Ethanol-containing gas can absorb water from the atmosphere, which can lead to phase separation, which occurs when ethanol and gas separate, much like oil and water. Ethanol that has absorbed enough moisture and has sat long enough can foul the fuel system and prevent the engine from starting.

No matter how many times you yank the starter cord and pollute the air with your advanced vocabulary, the lawnmower won’t start if it isn’t getting gas.

In extreme cases, evaporation of lighter hydrocarbons can change the gasoline’s composition enough to prevent it from igniting. The gas may be fueling the engine, but it doesn’t matter if it won’t ignite.

If you neglected to add gasoline stabilizer to the fuel prior to storage, empty the tank and replace with fresh gas. If the tank is nearly empty, simply topping off with fresh gas is often enough to get it started.

On some mowers, you can easily remove and empty the fuel tank. Sometimes that’s more trouble than it’s worth. In these cases, use a fluid extraction pump or even a turkey baster. (We keep them in the Sioux Falls location also)

Clean the carburetor

You’ve replaced the fuel, but your lawnmower still won’t start.

Next, try cleaning the carburetor. Remove the air filter and spray carburetor cleaner into the intake. Let it sit for several minutes to help loosen and dissolve varnish and gums.

On some carburetors, you can easily remove the float bowl. If equipped, first remove the small drain plug and drain the gas from the bowl. Remove the float bowl cover and spray the float and narrow fuel passages with carburetor cleaner.

This kind of “quick-and-dirty” carburetor cleaning is usually all it takes to get the gas flowing again and your lawnmower back to cutting grass.

If not, consider removing the carburetor from the engine, disassembling it and giving it a good cleaning. Be forewarned, however: taking apart a carburetor can lead to nothing but frustration for the uninitiated. Take pictures with your phone to aid in reassembly. Note the positions of any linkages or the settings of any mixture screws, if equipped.

If you’re at all reluctant, visit the servicing dealer instead. Also consider replacing the carburetor altogether. It’s a fairly simple process on most smaller mowers and it’s often less expensive than taking it to the dealer.

Clean/replace the air filter

With the air filter removed, now’s the perfect time to clean it. Tap rigid filters on a workbench or the palm of your hand to dislodge grass clippings, leaves and other debris. Direct compressed air from the inside of the filter out to avoid lodging debris deeper into the media.

Use soap and water to wash foam filters. If it’s been a few years, simply replace the filter; they’re inexpensive and mark the only line of defense against wear-causing debris entering your engine and wearing the cylinder and piston rings.

Check the spark plug

A dirty or bad spark plug may also be to blame. Remove the plug and inspect condition. A spark plug in a properly running four-stroke engine should last for years and never appear oily or burned. If so, replace it.

Use a spark-plug tester to check for spark. If you don’t have one, clip the spark-plug boot onto the plug, hold the plug against the metal cylinder head and slowly pull the starter cord. You should see a strong, blue spark. It helps to test the plug in a darkened garage. Replace the plug if you don’t see a spark or it appears weak.

While you’re at it, check the spark-plug gap and set it to the factory specifications noted in the lawnmower owner’s manual.

If you know the plug is good, but you still don’t have spark, the coil likely has failed and requires replacement.

Did you hit a rock or other obstacle?

We’ve all killed a lawnmower engine after hitting a rock or big tree root.

If your lawnmower won’t start in this scenario, you probably sheared the flywheel key. It’s a tiny piece of metal that aligns the flywheel correctly to set the proper engine timing. Hitting an immovable obstacle can immediately stop the mower blade (and crankshaft) while the flywheel keeps spinning, shearing the key.

In this case, the engine timing is off and the mower won’t start until you pull the flywheel and replace the key. It’s an easy enough job IF you have a set of gear pullers lying around the garage. If not, rent a set from a parts store (or buy one…there’s never a bad reason to buy a new tool) or visit the dealer.

My lawnmower starts, but runs poorly

If you finally get the lawnmower started, but it runs like a three-legged dog, try cleaning the carburetor with AMSOIL Power Foam. It’s a potent cleaning agent designed to remove performance-robbing carbon, varnish and other gunk from carburetors and engines.

Power Foam®

Buy AMSOIL Power Foam

Add gasoline stabilizer to avoid most of these problems

Which sounds better? Completing all these steps each year when your lawnmower won’t start? Or pouring a little gasoline stabilizer into your fuel tank?

Simply using a good gasoline stabilizer can help avoid most of the problems with a lawnmower that won’t start. AMSOIL Gasoline Stabilizer, for example, keeps fuel fresh up to 12 months. It helps prevent the lighter hydrocarbons from evaporating to reduce gum and varnish and keep the fuel flowing. It also contains corrosion inhibitors for additional protection.

Gasoline Stabilizer

Buy AMSOIL Gasoline Stabilizer

I have a five-gallon gas can in my garage from which I fuel two lawnmowers, two chainsaws, two snowblowers, a string trimmer, an ATV and the occasional brush fire. I treat the fuel with Gasoline Stabilizer every time I fill it so I never have to worry about the gas going bad and causing problems.

You can also use AMSOIL Quickshot. It’s designed primarily to clean carburetors and combustion chambers while addressing problems with ethanol. But it also provides short-term gasoline stabilization of up to six months.

Signature Series Battles Sludge

Signature Series Battles Sludge

The health of your engine depends on motor oil circulating quickly and efficiently through the system, but sticking components and obstructed passages inhibit motor oil from lubricating, cooling and protecting your engine. Engine “sludge” occurs when oxidized oil and contaminants build up on engine surfaces. It can restrict the flow of oil to the point of engine failure and costly repairs.

Warehouse note: The so called “fully synthetics” which are mostly group III’s or a combination of a majority group II and a fraction III ($3.50 synthetics)  to a majority III and a fraction of IV ($8.50 synthetics) – all based on price and what the stock holders allow to be used for a desired profit.. Note that all of these WILL leave deposits in the form of sludge. Turbocharged engines must avoid these brands which include the silver one shaped like a shampoo bottle. 

Sludge: Where It Starts & How It Ends

  • The valve cover and oil pan are generally the first areas sludge appears.
  • The oil pick-up tube screen is often the next spot it accumulates, impeding oil flow through the system.
  • What begins as a thin film of lacquer or varnish deposits eventually bakes into an expensive mess.


The Sequence VG Engine Test

Engine failures due to sludge are often caused by a clogged pick-up tube screen – the motor is effectively starved of oil. The Sequence VG Engine Test determines how well an oil resists sludge formation and keeps the lubricant flowing freely throughout the system. The test is required for API SN PLUS – a specification recommended by most domestic vehicle manufacturers.

TEST PARAMETERS


Engine Ford* 4.6L V-8
Duration 216 hours
Measures Sludge and varnish deposits, piston ring sticking, clogged oil pump screens and roller pin wear
Simulates Taxi, delivery or commuter vehicle service
Requirement Oil pick-up tube screen limited to 10 percent blockage


The Results

Signature Series Synthetic Motor Oil was subjected to the Sequence VG to measure its ability to prevent sludge. As expected, Signature Series produced an oil pick-up tube screen virtually free from sludge (see image). Our unique combination of detergents and high-quality base oils control oxidation and sludge to keep engines clean and efficient.


Signature Series has 50 percent more detergents1 to help keep oil passages clean and promote oil circulation. It provides 90% better protection against sludge2.

Warehouse Note: Thankfully our efforts here in Sioux Falls have made the Signature Series our top seller and on the minds of many who want their investment to remain like new beyond 250,000 miles. People are realizing that it’s not all about change frequency as a non “true synthetic” can cause damage in just 10 miles in GDI engines due to LSPI.. Not to mention why I adopted AMSOIL back in the day – the added power and performance!!

1 vs. AMSOIL OE Motor Oil
2 Based on independent testing of AMSOIL Signature Series 5W-30 in the ASTM D6593 engine test for oil screen plugging as required for the API SN PLUS specification.
*All trademarked names and images are the property of their respective owners and may be registered marks in some countries. No affiliation or endorsement claim, express or implied, is made by their use. All products advertised here are developed by AMSOIL for use in the applications shown.